If you've already watched the video, then you will have heard in my voice-over than there were one or two (or more) moments of complete and utter panic when I wondered if I was completely screwing up the page and a definite moment when I thought I might have to scrap it all and start over from the beginning. I chose to stick with it and keep going (and not let this page get the better of me) and now that I've completed the page, in hindsight I can happily say I do actually like the end result and the process from start to finish really wasn't that bad. Let's just say it contained lots of learning opportunities.
Anyway, enough blathering, let's get on with the good bits... what did I use and how did I do it.
Products Used:
- Black gessoed page
- Liquitex Matte Gel
- Tim Holtz Idea-ology Tissue Wrap - Postale
- Vintage book pages
- Magazine cut-out images
- Washi Tape - various
- Pebeo Studio Acrylics High Viscosity - Iridescent Blue Green, Iridescent Green Blue, Iridescent Blue Black, Iridescent Orange Yellow, Iridescent Green Yellow, Iridescent Violet Blue and Iridescent Red Blue
- Ranger Tim Holtz Distress Crackle Paint - Black Soot
- Faber-Castell PITT Artist Pens - 114 Light Skin, 132 Light Flesh, 131 Medium Flesh, 199 Black
- Faber-Castell Gelatos - Peach, Guava, Metallic Melon, Bubblegum, Chocolate, Gold Champagne, Red Cherry
- Faber-Castell Gesso - White
- Stabilo All Pencil - Black
- Faber-Castell - Allbecht Durer Pencils - Burnt Sienna, Walnut Brown, Dark Sepia
- Zig Water Pen
- Colour Shapers
- Wet Wipes
- Heat Tool
- Craft Mat
- I started with a page I had pre-gessoed with black gesso. I coated the page with a thin layer of matte gel then coated some torn pieces of tissue wrap on the underneath side and adhere in place. Then brush a light coat of matte gel over the top as well. To get rid of any excess gel and ensure strong adhesion in place, I then ran over the piece of tissue with a credit card. I repeated this step with multiple pieces of tissue wrap.
- I then did the same with some torn pieces of vintage book paper to give the background some contrast. I was interested to see how much the black gesso background showed through the various materials used.
- I fussy cut a couple of images I had found in fashion magazines. Once I had decided where I was going to place the two images, I adhered them in a similar manner as the tissue wrap. Having completed the page, I suspect I removed too much of the matte gel or pressed/scraped too hard when rubbing the image of the face. When I added colour (in a few steps) it didn't flow as much as expected instead it soaked into the page or worse took off more colour than it added... note to self to watch this next time!!
- To add some contrast and bring a bit more black back into the page, I added some strips of washi tape, all of which were predominantly black. To ensure these didn't lift off, I coasted them with the matte gel as well, then ensured that the page was well and truly dry by leaving it overnight to "cure".
- The next step was to colour some of the cork ends in the second image with the iridescent paints. I had only purchased them earlier in the day, so I was really keen to see what they looked like away from the swatches in the shop. For most "dots" I gave them three coats of paint to get the intensity of colour I desired.
- Once I was sure the painted dots were dry (which didn't take that long really), I generously coated each coloured dot with a thick dot of black crackle paint. I used a pair of colour shapers for this step to get a thick enough coating while maintaining the shape and size of the coloured dots. This was a little more difficult than I had expected and to be honest about half way through I was screaming on the inside "what have I done????" while I waited to see if my moment of brilliance was actually going to work.
- Wait impatiently for black crackle paint to dry... to too impatient so pull out heat tool for a wee bit... then smack one's own hands and let it dry naturally.
- This next step got a little bit messy, a little bit hair raising and a little bit panicky as it all seemed to go horribly wrong on several occasions and though you can't see it on camera... I spent a considerable amount of time thinking I had completely ruined all my hard work up until this step. Given my considerable panic, I have to confess I can't remember exactly what I did here, but it looked something like this - tried to cover the patches where the colour had bleached or been rubbed off the magazine image, first with PITT Artist Pens in flesh tones, then when that didn't work I tried gelatos in flesh tones. I tried water to blend the gelatos but this seemed to lift off even more colour off the magazine image (insert more panic)... so I tried heat setting the gelatos to see if that would get them to "stick" to the page... finally something seemed to go right, sort of.
- I still wasn't happy with the colour and what was happening so to prevent myself from throwing all my toys out of the cot (not that I would do that)... I had a moment of inspiration and decided to do a thin layer of gesso to create a base on which to try to recolour the face. I painted the gesso over all the exposed skin on the face and upper torso covering everything but the eyes and eye brows.
- Once the gesso had dried I tried colouring with the PITT pens once again but they just seemed to soak into the gesso rather than "float" on top of it, so I soon moved back to the gelatos to try them again. I did a light layer of gelatos then heat set them to see if they would create a good base for whatever else I was going to try. The good news was that this did work and I was able to blend in additional layers a lot easier, though I did still have to be careful that I didn't take off as much colour as I added back on. Once I had the skin tone base back again, I added some red for a rouge on her cheeks as well as some shadows and highlights to make the face look more natural, though still painted. Finally it actually looked pretty good.
- I added some colour to her eyes brows again (to make them look less magazine and more art-like) as well as eyes lashes... though in hind sight I may have added to many as I'm not 100% sure that they look all that natural... but hey artist's impression right!
- Having done this, I then decided that the hair needed some extra highlights to match with what I had already done with the image. I added some highlights using metallic gelatos as well as ordinary gelatos to add some interest. I really liked the end result of the hair.
- I lined the images with my Stabilo All pencil which I then blended with my water pen. Note to self - sharpen pencil before using it on each project otherwise the line will just end up being really thick and won't look as good. (In the video I said something about it looking like a drag queen had done your eye liner... no offence to drag queens as their make-up is usually impeccable and I which I looked as good as they do all dolled up).
- To add some more depth to the images I then coloured around them with a little water colour pencil which I also blended out using my water pen. This step gave the page a great deal of depth so it didn't look as one dimensional.
- To frame the page I repeated the water colour blending around the edge of the page. This really finished off the page.
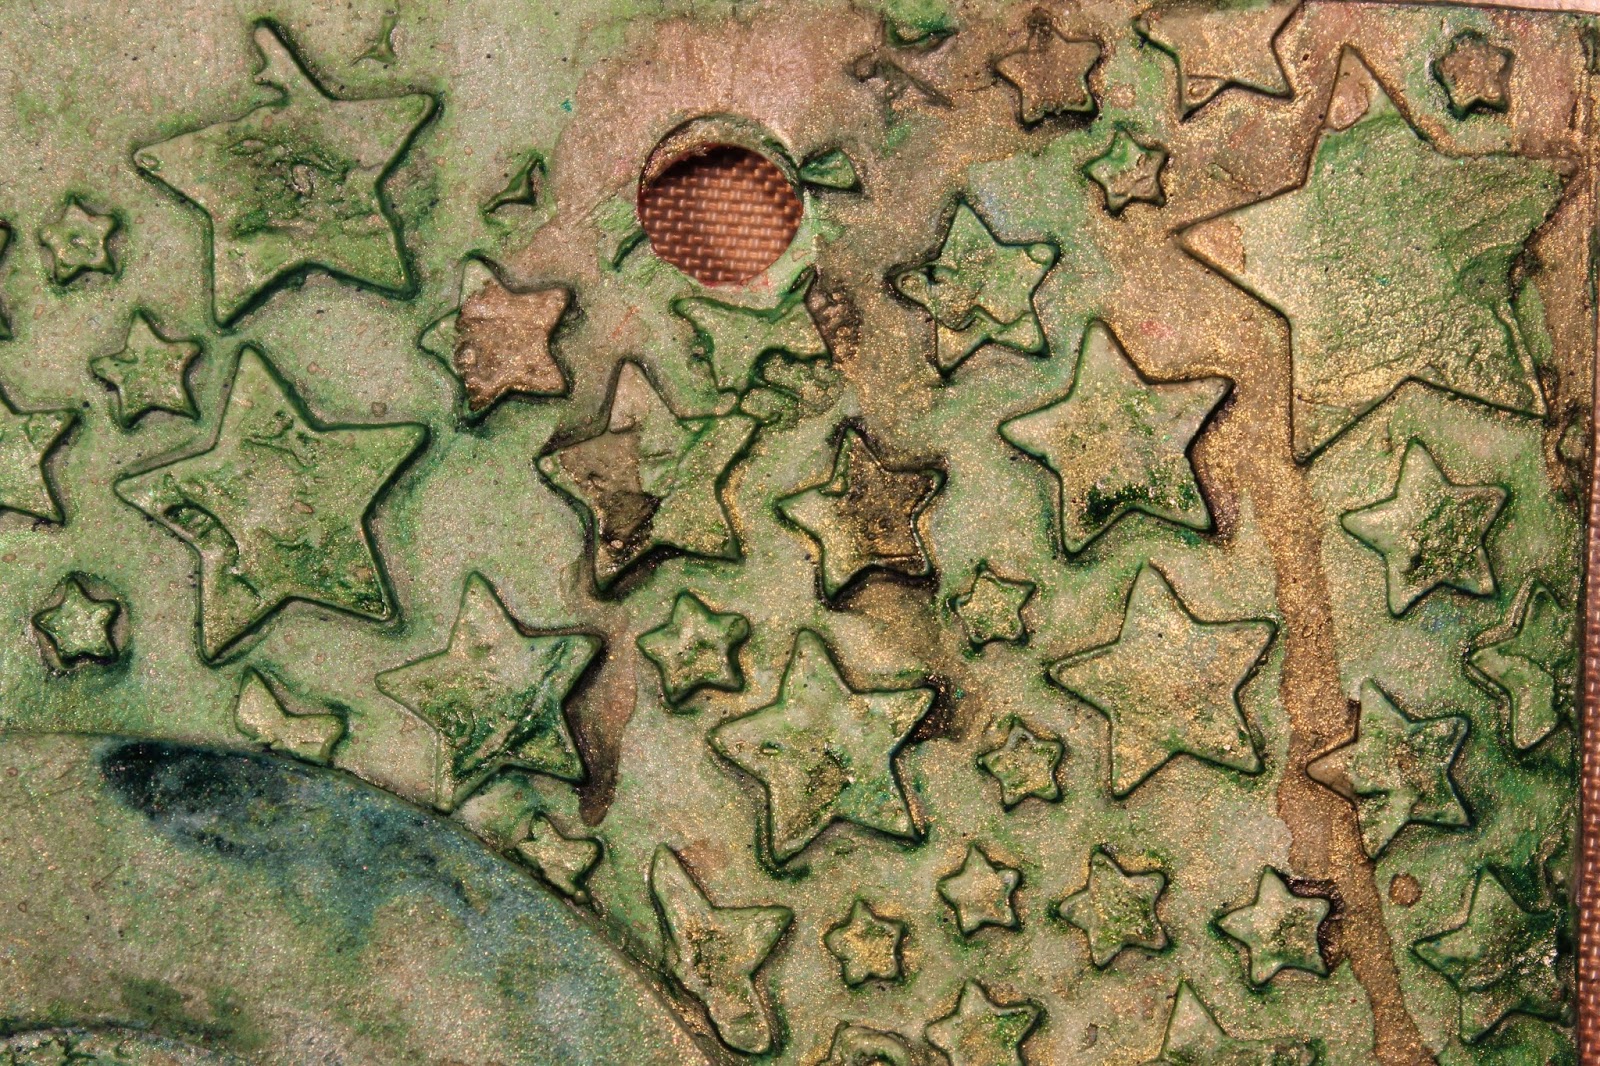
Here are some close-ups of the page as well as a few pictures showing you some more of the magical iridescent paints... these are the excesses I scraped onto a random page in another art journal.


Here is the finished page. After a few false starts and a few moments of panic, I ended up actually quite liking the end result.
Maybe some overkill here, but I really loved the end result of the crackle paint over the top of these bright iridescent paints. The worked out even better than I hoped.
It's hard to say what my favourite colour is as they all turned out so gorgeous. Part of me hated the idea of painting over these sumptuous colours, but I think the end result is so worth it.
Sigh... love!!
This shows a little of the highlighting added to the hair. I love the effect and wish colouring my hair was this easy and looked this good afterwards.
Though I wasn't entirely sure at the time, once I had finished the eye lashes and eye brow I really did like the end result... though I think I need to examine eyes a little more closing as I think I may have "over" extended the eyes lashes around the eye.
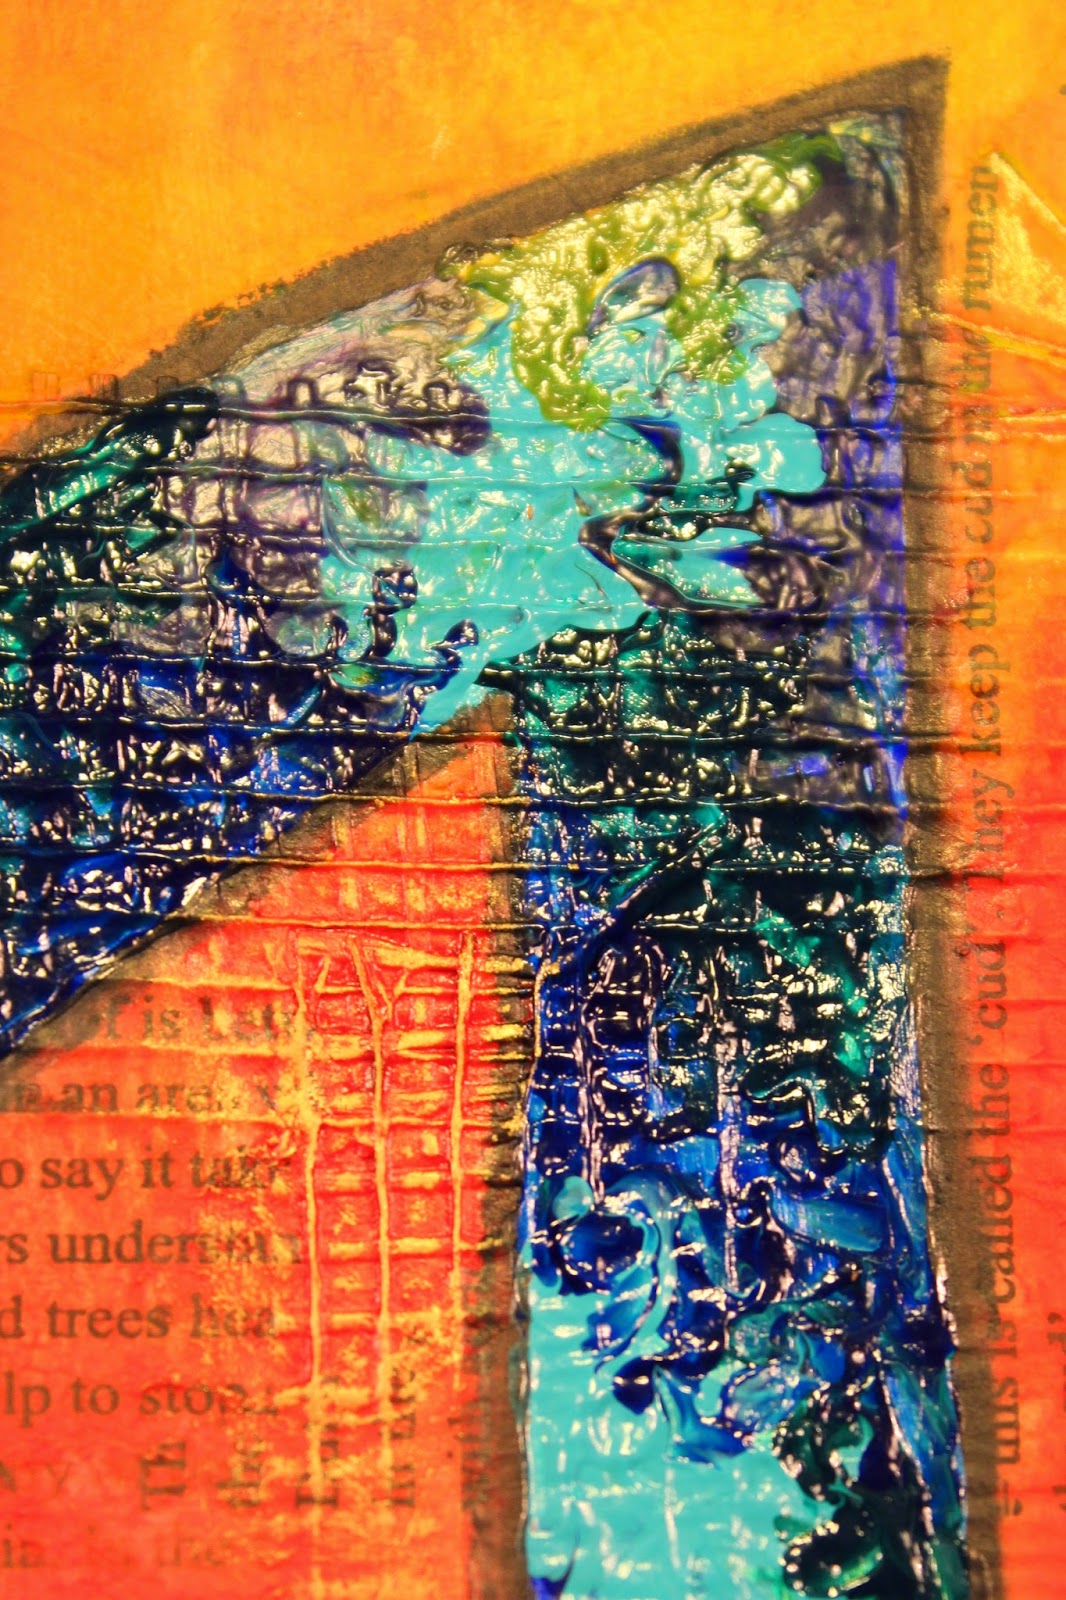
Sharing some of the over flow of paint that I didn't want to waste ('cos it's just so yum!!) so I just smeared the excess onto this random art journal page. I love the colours here so much whether thick or a very thin coating as they just have so much shimmer to them.
Isn't this orange just gorgeous!!
This one really shows that even when applied really thin so that they appear almost transparent, the shimmer still just shines through. Love the effect over the heading in the background.
Not sure if this was the Blue - Green or the Green - Blue with the Red - Blue who cares... still YUM!
Ahhhh... this just makes my heart sore... love this almost but not really transparent look.
And again the finished page... just a bit bigger.