Monday, January 31, 2011

Technique Class - Foam Alphabets

Not sure about anyone else's opinion but I like shopping at $2 shops for bargains, especially scrapbooking finds. One of my best finds to date has been packs of foam alphabets in various colours. You get two sheets, with multiples of every letter. They are self adhesive, a good size and the colours are pretty versatile, especially the white ones.
I have used them straight, as they are, fresh from the pack, but I really love the look you get when you ink them and then coat them in Dimensional Magic or Glossy Accents.
It's easy to do though does require some patience waiting for the Dimensional Magic/Glossy Accents to dry so that you don't end up with sticky finger marks embedded in the Dimensional Magic/Glossy Accents.
  1. Select the required letters, I usually cut them out but leave them on the backing paper.
  2. Ink the foam letters with your choice of ink. I have used VersaColor Ink Pads and VersaMagic, both with success.
  3. Allow the ink to dry a little before wiping the excess off with a paper towel or tissue. Excessive ink doesn't seem to want to dry onto the foam letters and heating them with a heat gun would probably melt the letters.
  4. Apply Dimensional Magic/Glossy Accents. I outline the letter then fill in the middle for a good coverage. Take care not to leave any air bubbles as these will mark the final result. Allow to dry at least a couple of hours depending upon the temperature and humidity.


Then apply your letters to your project. You will see these letters on the finished project near the end of February.

Thursday, January 27, 2011

Missing Post - OTP

Sorry I didn't get a chance to finish my blogs for last night or tonight but I do have a really good reason.


I was playing with my granddaughter - Sonia-Marie.


We played at eating pretend food out of a big metal bowl. Her face was so adorable seeing the beaming smile as I joined in the game.


But even more cute was the cheeky laughter, even bigger smile and squeals of delight when Nana taught her to turn the big bowl upside down and use the spoon on the bottom of the bowl to make a really, really, REALLY LOUD banging noise!!!


Note to self... always have the camera handy!!


PS I will catch up the missing blog over the weekend as its a long weekend here in Auckland.

Tuesday, January 25, 2011

Card Day - Birthday Card

My friend Glenna celebrated her birthday last week and I wanted to do something a little different for her.


I know she loves green and she is a fantastic jewelery maker (she got me started into it) so these were the two things I wanted to incorporate into her card.


The background is some of the napkin patterned paper I demonstrated last week.
The beading is bugle beads threaded onto 26 gauge wire then shaped. The top ends have a double loop through which I threaded a coordinated brad. These are used to hold the beading in place. The bottom end is wrapped around the feathers to keep them in place and again is threaded through to the far side of the patterned paper to keep them attached as well.
I finished off with a couple of flowers and some bling.


This was the first time I have used feathers on any of my paper crafting, though I have used them hundreds of time in my former costume designing and making. I liked the effect and look forward to a lot more experimenting.

Monday, January 24, 2011

Technique Class - Fabric Paper

I love the look of fabric on a scrapbook page - probably because I am a sewer from way back, but I've always wondered about what was the best way to attach fabric to a page.
I could have tried sewing it on, but I know that not everyone is a sewer like me and I wanted an idea that the majority, rather than the minority could use.
Solution number 2 - double sided adhesive sheets.
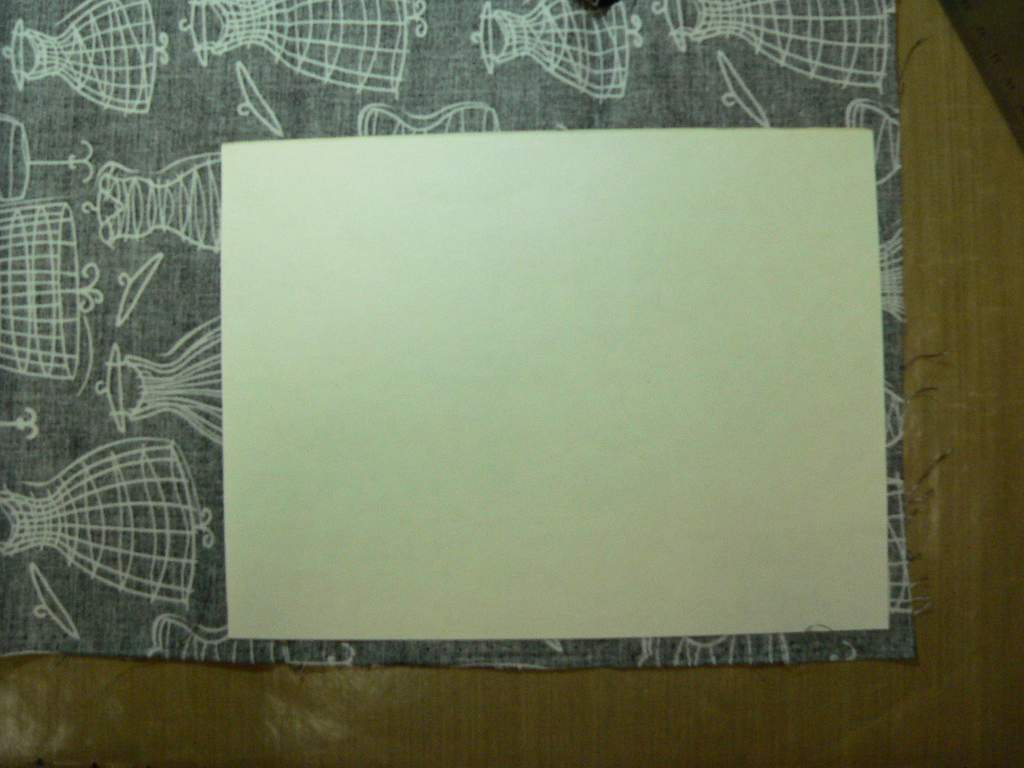
Applying the double sided adhesive sheets to fabric is relatively easy, though you do need plenty of space especially if you are working with larger pieces of fabric. 
The method I used was much like how I used to cover school books with Plastic Contact Paper. 

  1. Cut double sided adhesive to size.
  2. Peel back a portion of the backing paper.
  3. Place adhesive (sticky side down) to the back of the fabric and smooth out the adhesive to ensure the adhesive and fabric are both smooth.
  4. Continue to gradually pull back the backing paper and adhering to fabric until all adhesive is attached.
I have some examples of three different versions of how I attached the adhesive to the fabric.
  • Fabric pieces
I found this fabric in a bundle with some other "Lightening McQueen/Cars" patterns at the Warehouse. My sister has bought some matching sheets & curtains for her third son's bedroom, so finding this was just what the doctor ordered for his "Welcome to the World" album I am creating to celebrate his birth.
I cut out some of the blocks so I could turn them into individual stickers. The blocks on the material face different directions (which annoys me) so I thought this would make the fabric easier to use and more versatile. Also this way I could get more out of the fabric... on scrapbook pages, cards, OTP projects as well.
Being the budget conscious scrapper I am, I then placed the cut pieces onto the backing paper to work out the most economical placement and cut the double sided adhesive to size.
Then I pealed back the backing paper and placed the individual patches into their respective places. The great thing was that this method meant I didn't have to worry about creases in the fabric as they were removed by the sticking process.
 
  • Fitting fabric to fit left over adhesive sheet
I worked out what part of the fabric I wanted to use. Cool fabric - also from the Warehouse.

Not sure if I will leave it whole or not or cut it into pieces so just left it whole for the time being. Otherwise just used the general process discussed above.
 Then I simply cut around the self adhesive paper.
  • Background Paper
The final piece I want to use as a background on a scrapbook page or two so wanted it to be as large as possible. I'm not sure yet, what shaping I will use so have left it whole until I make up my mind. These pictures show the process mentioned at the start of slowly peeling back the backing paper and sticking it down gradually.

 More cool fabric from the Warehouse.

Sunday, January 23, 2011

Best & Worst - Christmas Pressies 2010

To be honest there really was no "worst pressie" as such as I liked them all, so today's blog on the best & worst should really be titled "The Best Christmas Presents - 2010".


I loved Christmas 2009 because my girlfriends & I all bought each other scrapping related presents for a Christmas Present Challenge, though we had all year to purchase the goods within a framework of gifts and budgetary ideas. It was the best Christmas gift ever unwrapping the gifts everyone bought each other (and themselves) because we knew they were all scrapping related. Well it was the best Christmas gift ever, until Christmas 2010.
Last year I was fortunate enough to receive two special presents, not that the rest weren't lovely, but these two were pretty amazing for different reasons.
The first, was my Secret Santa gift through Crafting Passionz. The specifications were something scrapbooking related between $5 - $10. I love any gifts scrapbook related, because more often than not the gift-giver will usually buy something that I wouldn't buy myself, but that I end up using and absolutely loving. And even more so, if the gift-giver is a scrapper themselves.
I was lucky enough, blessed even, to be matched with Shar, the organiser of the swap. Shar, bless her heart, send the most AMAZING gift made up not only of some bought items but some TOTALLY COOL handmade items that she made especially for me. I was so blown away (and left feeling a bit guilty about what I had send my poor gift recipient).
 Just look at that stash. I don't have any Martha Stewart stamps, so this was an incredible bonus especially as I just love acrylic stamps. The Making Memories metal combo will look lovely on something altered or heritage. The scrolls I love and have some in my stash already, so they will soon be used in a project and I definitely don't have enough ribbon or storage containers for all my beads.
 I love this!! What more can I say - thank you Shar... all I need now is somewhere to display it... and I did get a very smart idea last night so watch this space.
 
This altered match box was too cute. And I loved the way that it matched my "P" but to see all the treasure inside it as well, just blew my mind away. Lots of charms and filigree beads to use in both my scrapbooking and jewelery making.


Earlier I mentioned two presents that were special this year. The second present wasn't a surprise for me... I dropped some less than subtle hints to my darling husband about what I wanted. I pointed out adverts on television, in brochures and mailers and even in shops when we saw them on display. I even pointed out the price when they were on special. 
What makes this gift so amazing was that it really was the first time my husband had actually bought me a gift that was scrapbooking related and that I really wanted. I love him to bits, but let me just say that his past history of gift-giving leaves a lot to be desired... however he made up for all of that and is back on par with my 2010 Christmas gift.
So what was it... I really wanted a Cuttlebug die cut machine from Provo Craft. Why I hear some of you say when I already have a Wizard (which I don't use); a Sizzix which I use quite a lot and a Klic-N-Kut which I love but am still learning how to use? I wanted one because I have a few larger and longer dies that just don't work that well in my Sizzix... you know the banner/border type Sizzlet dies that are so cool. And I have collection of Cuttlebug embossing dies that are a tight squeeze into the Sizzix.
Unfortunately dh was a little late in buying my present... the weekend before Christmas... so he ended up missing out on the special and had to pay full price but he still bought it... he's at a loss as to what the hell was in the box and how it works, but he knows it was something I really wanted and that was all that mattered. Thank you my darling, Pete.
And added bonus... four sets of dies included free with the machine... sweet!!!

Handmade

Sorry I'm a bit late posting tonight as I was crafting while doing an online class and taking notes. The class ran a bit longer than expected, but I'm here at last - not too late.


Flowers are really popular at the moment, especially hand-made ones whether made from cardstock, patterned paper, ribbon, fabric or anything else. I made some flowers last year for a swap - Felt Flowers and Paper Flowers - but wanted to explore some more and thought that it would be a perfect way to use some of the napkin decorated paper I made earlier in the week. I did warn you I hadn't finished with that creation, there will be more.


So here are today's handmade item - a double layer, shaped flower with a hint of colour from my home-made Glimmer Mist as well as some of the real stuff.


  1. I cut the individual petals from the napkin covered paper using my Cuttlebug - more on that tomorrow. 
  2. I shaped each of the petals using only finger pressure to give them a 3-dimensional look.
  3. Punched a small hole in the end of each petal using my Crop-O-Dile.
  4. Threaded a brad through the holes then spread the two layers of petals about evenly.
  5. Spritzed the flower with some of my home-made Glimmer Mist as well as some of the real thing for a hint of colour.
  6. Dried and reshaped the petals using my heat tool.
My only change would be to spritz the petals individually for a more even coverage then thread through the brad to hold it all together. And less hassle not spritzing the sexy brad if it's not in the way either.

Saturday, January 22, 2011

Photo Techniques - Rub-Ons

One of the simplest ways to do more with your photos when you are scrapbooking them, is to apply rub-ons directly onto your photo. Although it may seem a little daunting the first time you try... at least that is how I felt... you soon realise that it's not that big a deal and worst case scenario you can always re-print another copy of the photo. (Because we all know you never use your originals - right??!!)
Just apply the rub-ons to your photo as you would to cardstock, patterned paper, chipboard etc. You might just want to take the rubbing process a little more gently on your photo as you don't want the tool you are using to damage your photo.
Anyway here are some examples from some of my scrapping. Sorry the first layout was on black cardstock, so the black background I use pretty much blended into it, but you get the gist of it.
 
 
You can use the rub-ons as journalling. This rub-on is from AMM Expressions Rub-Ons "Love About You" and is available from my studio or online here.


Or you can use them as decorative elements either alone, or with the likes of Kindy Glitz, as above.
 
This ice-cream cone is from the Imaginisce Summer Lovin' set.

This is a pre-collaged patterned paper, complete with "Princess" title. All I did was add the photo, rub-ons and then the flowers with a brad and hey presto a great looking page. Simple but effective.


For a great of rub-ons to use on your photos and scrapbook pages, be sure to check what is in stock at the moment at http://www.scrapfx.co.nz/ and click on Shopping Cart.